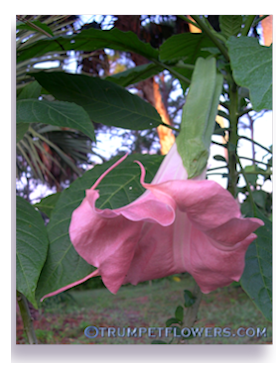
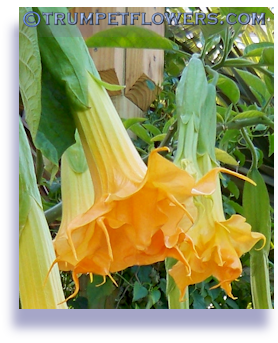
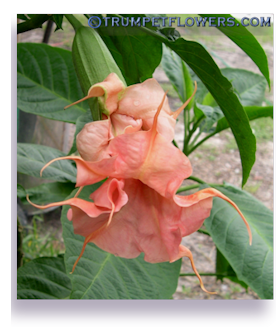
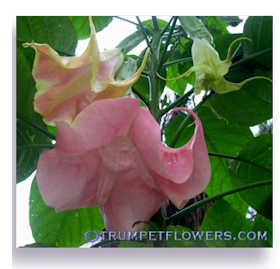
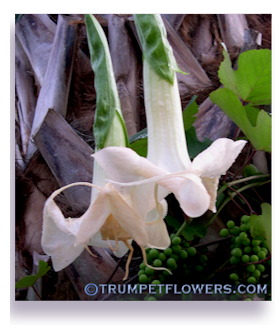
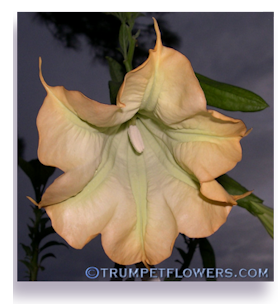
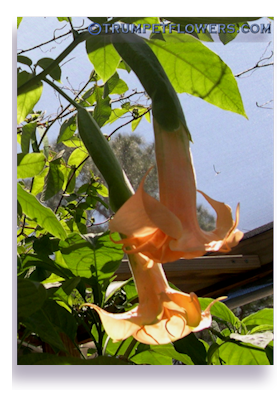
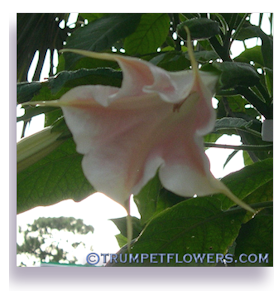
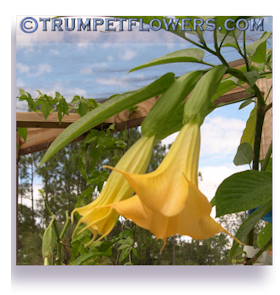
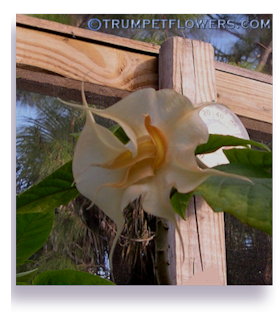
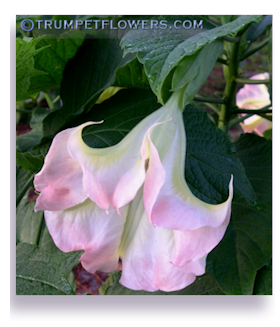
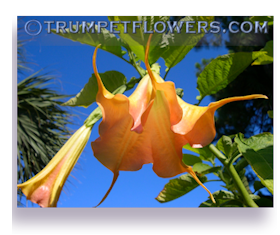
Get Seeds from Your Angel Trumpet, or Brugmansia tree. Here's how:
 Have you ever thought about how lovely some of the hybrids you see in fancy nursery catalogs or at an exclusive greenhouse are? With the following tutorial, I will show you how you can make your own crosses! We are going to use my favorite species for this tutorial, brugmansia. Don't worry if you have no experience. I'm going to add step by step photos and give you all the help I can so you can be successful crossing and creating your own your brugmansia! You can get seeds off of your Angel trumpet tree!
You will need at least two different brugmansia cultivars in order to cross, or pollinate brugmansia. Since the plant is self∼sterile, it will not pollinate itself. In other words, angel trumpets do not create perfect flowers. That's why all brugmansia cultivars are clones, save a few species.
 First of all, you will need a bit of familiarity with flowers and the way they reproduce. It would help you if you read Parts of a Flower before we go any further. Then come back here and we'll get started.
OK. So you've read through the flower parts and have a better understanding of how most flowers actually reproduce themselves. I assume that you have two different cultivars that are currently blooming, or fresh pollen of one and a blooming flower that you are sure has not already been pollinated by moths∼to use as our pod parent.
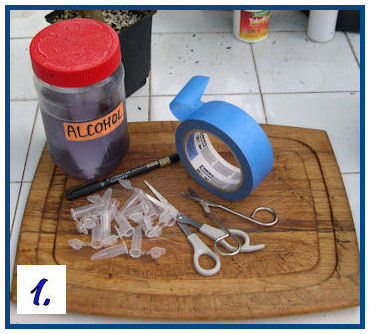
Besides the sexual parts of the plants listed above, you will also need the following items.(See figure 1)
- Blue Painter's tape
- Sharp, small Scissors
- Widemouth jar of Rubbing Alcohol
- Schaedler Permanent Marker, Finepoint works best
- Optional: Pollen vials if you want to save pollen of flower(s)
 Step 1 After you have assembled all of the above, and have the two flowers ready, you must decide who will be the pollen donor and who will be the pod parent, or 'mother'.
Important Note: Make sure the anthers on at least the pollen donor are pollen rich and that the pollen is not dried up. You can check this by gently rubbing your index finger and thumb over the tip of one anther that is on the pollen donor. If you notice some white to whitish yellow dust between your fingers, the pollen is ripe and ready to be used. This is important because if there is no pollen, there will be no seed pod in the future, and all of this will be only a dry run for you!
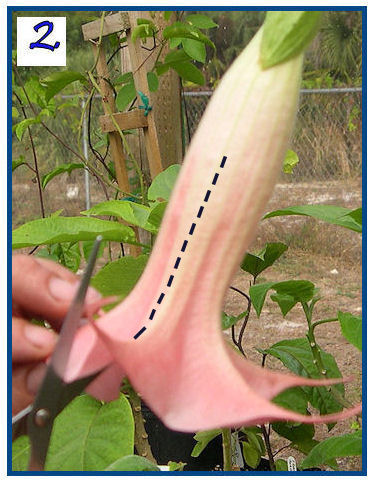
Step 2 After deciding, gently and carefully make a slice with the clean scissors along the outer wall of the pollen donor flower, slicing as far up as you need to. You are attempting to expose the anthers of the flower. Depending upon the cultivar, the stigma may or may not be below the anthers. See figure 2 for an example of the cut, should be at your right. (anthers are shown in figure 5.) Some cultivars will have them higher up, and you will need to cut even higher than the dotted lines.
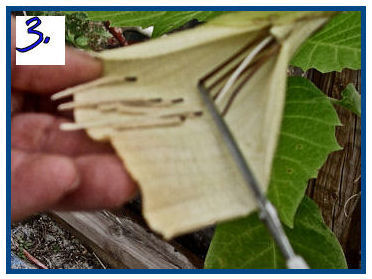 It will be easier if you cut away the large petal to better expose the anthers and stigma. See figure 3. Then carefully cup your hand under the anthers so they will not fall, and cut them and the stigma away from the flower. It is best to leave a long filament on the anther, that way you will be able to grasp it better without wasting any of the precious pollen that is on the tip. You can remove the stigma, it is useless in this first flower, who will be the pollen donor.
 Here he is removing the stigma and saving the pollen rich anthers.
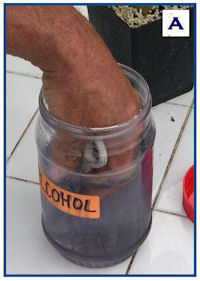
If you wish to save the extra anthers from this cultivar, now is the time to do it. Remember the pollen vials in Figure 1? Drop around 3 in the tube, and leave it uncapped but propped up so none of the pollen can spill. Throw away the stigma. After putting away the extra 3 anthers in the vial, and setting the two you will be using aside, dip your hands and the scissors in the alcohol. See Figure A. Dry all completely. You also have the potential to save all of the other anthers on the pod parent too, since you have sterilized your hands and the scissors and there is no possibility of cross contamination at this point.
 Step 3 You are now going to cut a piece of blue tape that is about 8 inches long, and place one end of it on your chin, like a goatee. I find that this is an easy way to access the tape when you need it in this next delicate movement.
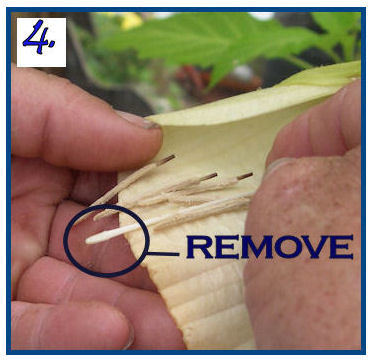
Step 4 You will now approach the pod parent flower and carefully slice her open the same way you did in Figure 2. Do not remove as much of the petal of this flower as you may have in the first flower. You will want to leave enough of it to cover the stigma when you are done. If you want to save the anthers from this flower, do it now, before handling the anthers of the pollen donor. Save them as told above. You will not need to resterilize your hands and scissors, as the only pollen you will be touching now will be crossed anyway and it won't matter if you accidentally touch them together. Be very careful when cutting this second flower, not to damage the stigma in any way! This is the part of the flower that will be saved and leads to the ovary! The stigma is attached to the style that you see circled in the photo above (figure 4) that says 'remove' DO NOT REMOVE it in the pod parent∼second flower!
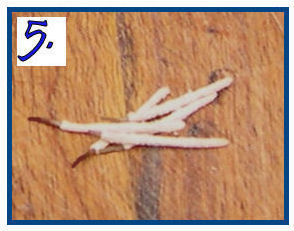 This photo is to show you the pollen rich anthers. Notice how he left a bit of length of to the filaments, so that he can handle them without brushing his fingers onto the pollen. When placed on the stigma of the pod parent, the pollen will travel through the stigma and down the style, which is hollow. The pollen granules will reach the ovary, which at this point will be fertilized. The ovary will begin to swell and grow with seed. The flower petals will fall off, but sometimes the calyx will remain. If it does, leave it. It will act as an insect barrier as well as a sunscreen for the growing pod.
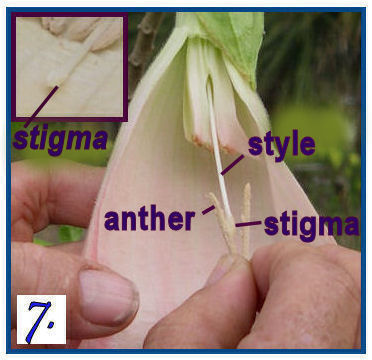 In Figure 7, you have already cut the petal up the mother flower, and made sure the stigma has remained unscathed and intact. Now take a couple (or all) of the anthers from the pollen donor and and gently rub them onto the stigma of the pod parent, making sure you notice the pollen grains kissing the stigma. Holding them in place, use your other hand to begin to close the flower around them, and press them gently onto the stigma as you close the remaining petal around it. This is shown in Figure 8. (Don't worry if the slit you made in the flower' petal extends above, as seen in figure 8, it will not matter in the near future.)
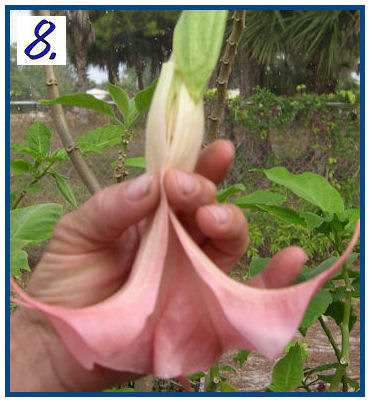 Note how he is gently pinching the bloom back together which is still holding the anthers and the stigma under the petal.
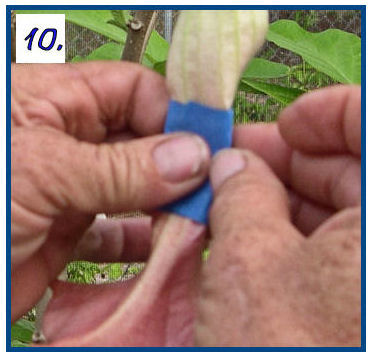
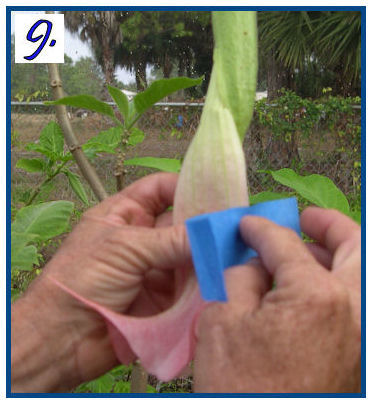 Now with your one free hand, take the tape I had you place on your chin off and wrap it around the flower right where you see his hand in Figure 8. Make sure you keep your hand on the anthers and stigma as you are doing this, just like you do when tying a bow. Make sure that it is tightly wrapped, but not so tight that you break the petals or the stigma and style. Figure 9 and 10 shows you how to do this.
Notice when he has finally wrapped the last end of the tape in figure 10, he flattens it against the stigma and enclosed anthers. This will ensure that they are held in place long enough to pollinate the pod parent bloom.
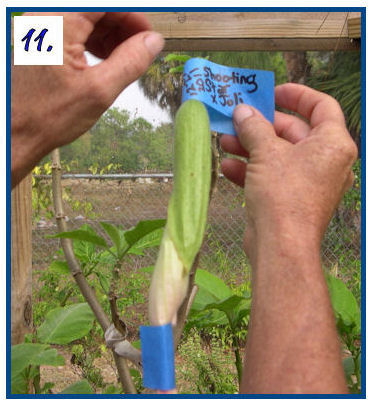 Now cut another piece of tape about 8 inches long, and place it perfectly back onto the roll so you don't damage the sticky side. Now write on it, the pollen parent times the pod parent. "Now write on it the Pod parent times the Pollen parent. (Make sure the POD parent plant is listed first!) Date it. Wrap this piece of tape very gently around the stem that is holding the flower onto the branch, (above the calyx) and let it stick to itself, with the writing side out where you can read it. See Figure 11.
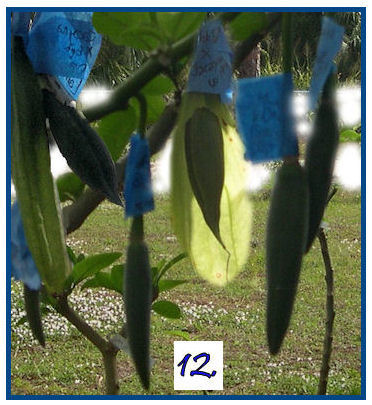 If you've done everything right, within a couple of weeks you will see that the petals fall off and then the ovary swells and begins to grow into the seedpod. Depending upon the pod parent, is what shape the pod itself will have. There are several different shapes of pods on brugmansia.
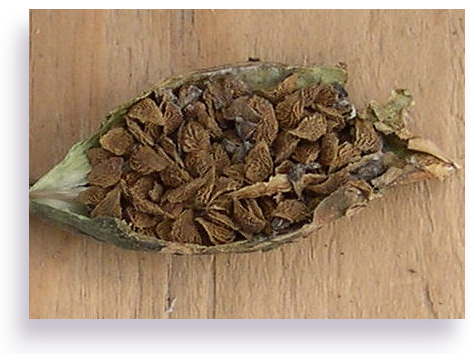
It takes from 3 to 18 months for the pods to be completely ripe and the seeds within are then viable. You can tell that they are ripe when the stem holding it to the branch begins to yellow. The pod itself will also yellow and begin to get mushy in some cases, or hard and dry in others. The seeds inside will be in a brown to dark brown, corky triangular shaped seed coat. If the seeds are beige or white, you picked the pod too soon. You are better off just being patient.
Brugmansia seeds can be harvested after the pod is ripe. The pods will easily slice open with an exacto knife, just run it down the pod length. The seeds should be plump, triangular in shape and brown. They may be a bit moist from the interior of the brugmansia seed pod, so separate them onto paper towels and allow to air dry a day or so. Then place them in paper packaging, similar to the postal packets. Alternatively, place them in plastic seed packets. Make sure to label the date of harvest, and the cross, with the mother plant listed first.
If you would like to read more about brugmansia and pollination, please see Spotlight on Brugmansia, Crossing Brugmansia.
*Note: For better success, do not pollinate your brugmansia in the hot days of summer. The pods will most likely fall off, or they will not even take. Try a fall or spring pollinating time instead. Spring pollinations will ripen the quickest, sometimes in as little as 3 months, but most likely 6. Fall pollinations can take longer.
 When you get serious about pollination, purchasing pollination, or Organza bags with drawstrings will help you keep your unopened blooms from getting kissed by those bees and butterflies before you can get there. Here is a link to a source for them and many other hybridizing supplies: Brugmansia Growers International Hybridizing and Pollination Supplies.
*Note: I am teaching you the use of alcohol in sterilization between flowers in the above tutorial. Even though it is not needed between you touching only the two cultivars needed for your first pollination attempt, learning to do this between flowers is a good, solid practice to get into. This way, as your collection expands, you will not accidentally cross pollinate and lose track of parentage.And if you were saving pollen from one of the flowers, you would still need to do this as described above.So, get in the habit of always carrying a widemouth jar of alcohol around with you when pollinating your flowers.
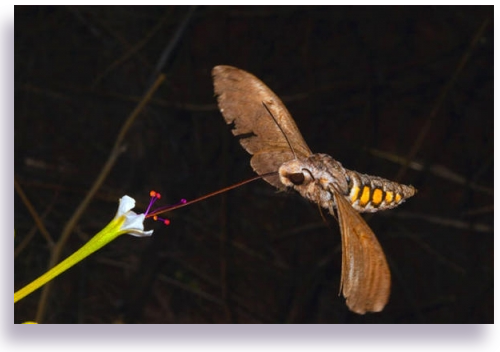
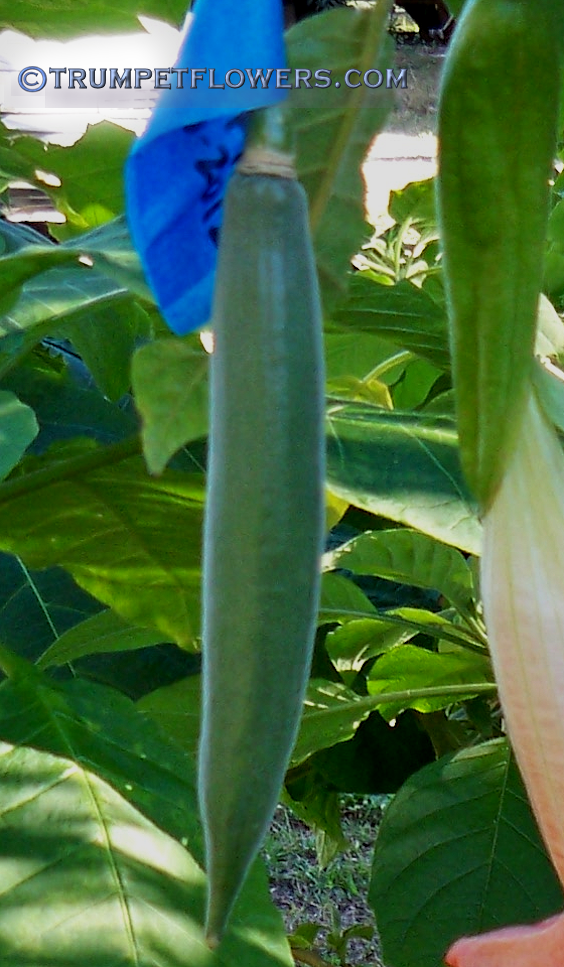 Hawk moths and bees can also pollinate your cultivars of brugmansia. A reason to place an organza bag over the unopened flowers if you want to know the parentage. If you don't want to pollinate your own, then allow the moths to do it for you. Click above photo for lifecycle of hawkmoth information.
To learn more about seed pods of brugmansia, and how and where to register a potential sapling of your cross, read more here: Everything you ever wanted to know about Brugmansia Seedpods.
Tags: pollinate your brugmansia, hand pollination, brugmansia pollination, pollinate brugmansia, pollinate angel trumpets, cross brugmansia plants, pollinate brugmansia, pollinate plants, pollinate angel trumpets,

